Create a WordPress integration
The Rebilly WordPress plugin enables you to accept payments, sell subscriptions, and build membership websites with no developer experience required. To accept payments using the plugin, you must have a WordPress website.
What we're building
For an example, see Checkout.
This is running in test mode and will not generate a real charge. Use our test card: 4111 1111 1111 1111, any 3 digit CVV, and any future expiration date to test.
Get started
1. Set up Rebilly
First check that you have:
2. Install the plugin
- Our plugin is currently in beta testing and not yet available in the WP store. Download the most recent version
- Navigate to your WordPress admin and log in.
- In WordPress, go to plugins > add new > upload plugin > select the file > install now.
- Once installed, the Rebilly plugin will be visible in the left navigation bar.
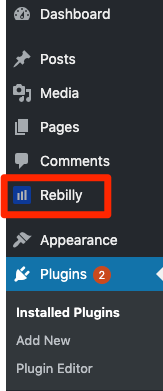
3. Connect your Rebilly account
- In the left navigation bar, press Automations .
- In the Development section, press API keys.
- Press Create API key and create a secret API key.
- Press Create API key and create a publishable API key.
- Navigate back to your WP website and enter the keys.
- Select your website and then indicate whether you are connecting your sandbox or live environment.
- When finished, save your changes.
Note: your sandbox and live environments have different API keys. If you switch between the environments, you must enter the corresponding keys.
4. Build a checkout form
- Open the Rebilly plugin and then press into forms > add new.
- Select a form type from the dropdown.
- Adjust the settings. Note: When creating a checkout page for a membership product, the enable sign-up must be set to yes.
- Use the form builder to create your form. Press the plus button next to the Rebilly logo in the form builder to see the available elements. Build your own or start with one of our preset forms.
- Use the style editor to edit the look and feel.
- Publish your form or save as draft when you are finished.
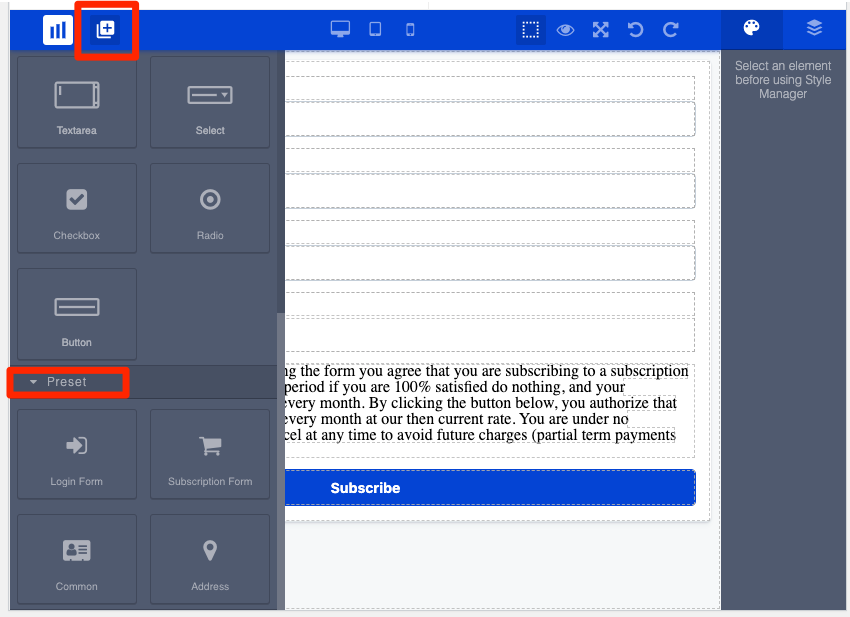
Tip: If you do not use the preset form or if you add additional inputs, be sure the inputs are linked to the correct Rebilly field.
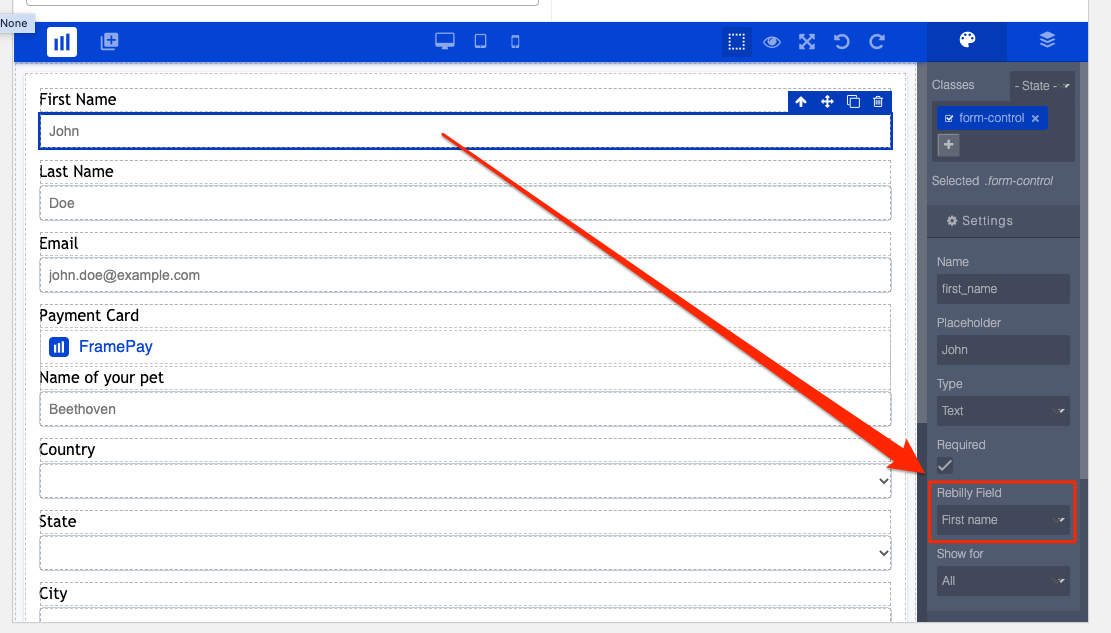
5. Add the form to a page
- Navigate to a new or existing page.
- Press the plus icon to add a block.
- You will see Rebilly forms as blocks you can embed in your pages. Your form settings will display in the column on the right hand side of the page.
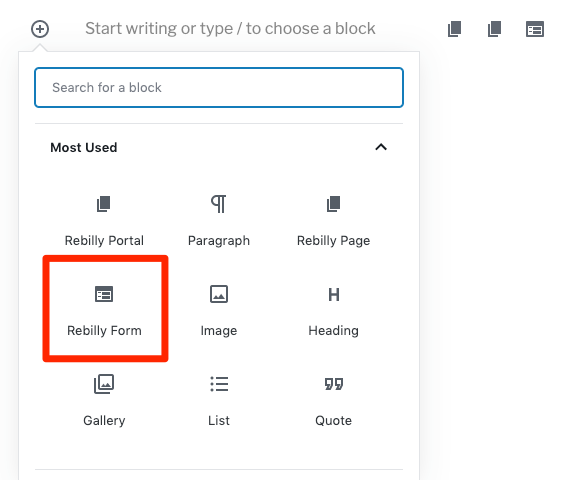
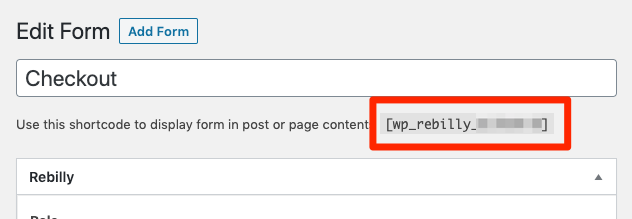
Or, embed your checkout form on your website using WordPress shortcodes.
6. Try it out!
Test the entire flow. To test in the sandbox environment, use any of the payment cards described in Test payment cards, IBANs, and ACH details. To test in the live environment, use a real payment card.